Are you daunted by the applique process, but have always loved the look of an
appliqued quilt? I recently revamped and organized one of my favorite beginner tutorials that will clearly guide you through the entire process of applique quilting.
Step One: Prepare the Fabrics
The first step to making an appliqued quilt – at least if you’re doing fusible style applique – is to prepare your fabric and attach the fusible web. My favorite type of fusible web is Lite- Steam-A-Seam-2. It’s lightweight, easy to work with, and it fuses securely and isn’t easy to mess up.
I’ve had mixed experiences with other types of fusible web. Some
made my quilts too stiff and other fusible webs seemed very heat sensitive. If I held my iron on just a little too long they would stop sticking to the fabric.
Cut Bulk Without Cutting Your Quilt - Suspend It Instead!
This is the Sew Steady Quilt Suspension System - designed to
lift and support quilts around your home machine, sit down longarm, or embroidery machine.
Last week we added the 2-piece set to our quilt shop, and now by popular request, we're offering the 4-piece clamp set too.
This week I'm still largely occupied with updating our website and fixing various broken images and links. With the Free Motion Quilting Project turning 14 this year, we have quite a bit of housecleaning to do!
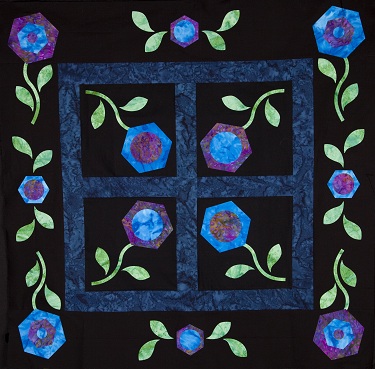
I love these blocks because they're so easy to piece and applique and the ability to fussy cut, fuse, and turn the edges to create unique petal finishes is endless.
That's it for this week. I hope you're having fun and making something beautiful to celebrate this fall season. I'm planning on taking a break from website-cleaning to quilt some pumpkins myself.