Last week I asked - what is your favorite quilt block size? I was really
surprised by the winner - 8-inch quilt blocks are the most popular!
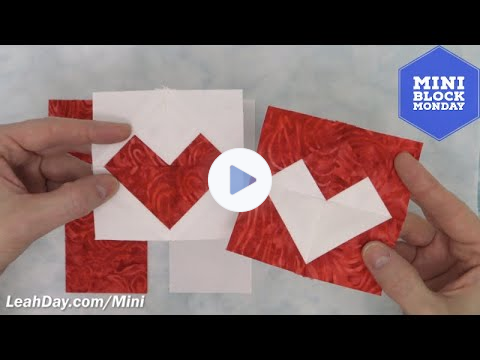
I promised to share resizing instructions for our 2 at a Time Heart Quilt Blocks for the most popular quilt block size. Keep in mind, the video makes 3-inch quilt blocks. You'll need to use the written instructions below to make the bigger size:
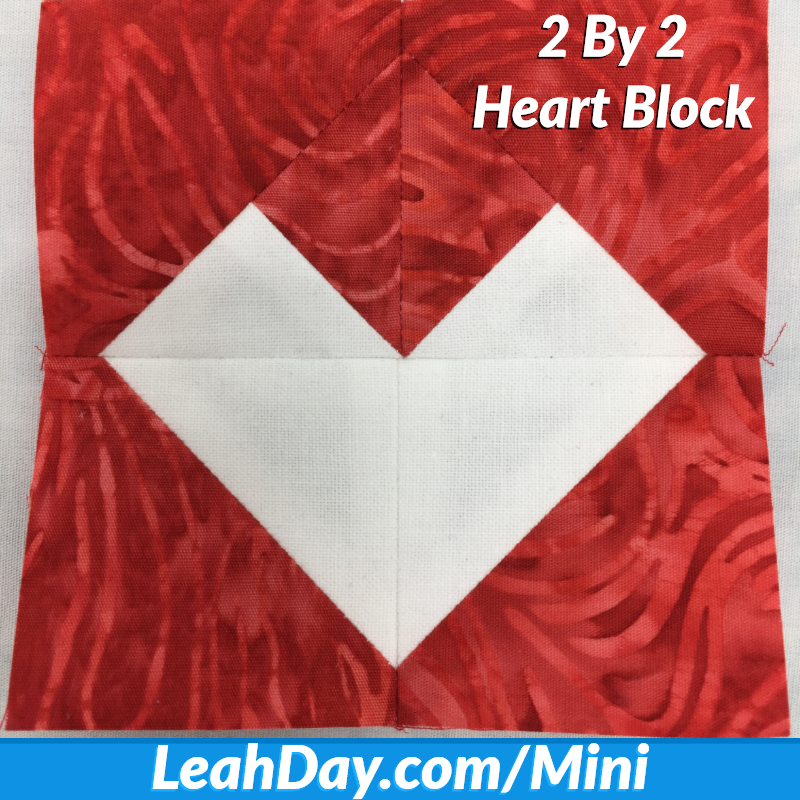
Cut the following pieces to make 8-inch 2 at a Time Heart Blocks
Cut the Same Squares
for Fabric A and Fabric B:
Cut 1 - 5 1/2-inch squares
Cut 3 - 5-inch squares
Stack the Fabric A and Fabric B 5 1/2-inch squares right sides together. Mark a diagonal line from corner to corner. Stitch a diagonal line 1/4-inch to the right of the line, then to the left of the line. Cut along the marked line to create two Half Square Triangles (HST).
Press the units flat, but don't trim them. Top one HST with a Fabric A 5-inch square and top one HST with a Fabric B 5-inch square. Mark another diagonal line, making sure it runs in the opposite direction as the diagonal seam on the HST.
Stitch 1/4-inch
to both sides of the new diagonal line. Cut along the marked line to create a total of 4 Quarter Square Triangles (QST). Set aside for later.
Now let's use the remaining squares to piece more HST! Arrange 2 Fabric A 5-inch squares right sides together with 2 Fabric B 5-inch squares. Mark a
diagonal line, stitch 1/4-inch to both sides, cut along the marked line and you'll create a total of 4 HST.
Now take all 4 QST and all 4 HST and trim them down to measure 4 1/2 inches square. This trimming part is very important as it gives you a chance to cut the unit down to the exact size
it needs to be. Make sure to align your ruler with the diagonal seam lines so the seams run straight from corner to corner.
Now the piecing process is simple: Arrange two QST so the small triangle faces down and match it with two HST with the same color lining up in the middle.
You'll have two opposing color heart blocks - so if you piece yours like mine, you'll have one with red on the outside and a white heart, and one with white on the outside and a red heart:
Piece the units together in sets of 2, then piece the two halves together to finish your 8-inch Heart Quilt Blocks.
I hope you'll piece up lots of these quilt blocks for Valentine's Day! I'd love to see the quilt you make with them.
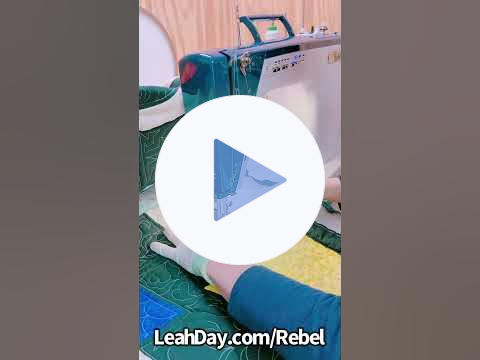
3 Ways to Quilt with the Little Rebel
I've gotten a LOT of questions about the Little Rebel sewing machine over the last few weeks. Most quilters are concerned about the stitch regulator and if it's possible to quilt with the foot pedal instead.
Here are the 3 Little Rebel Quilting Methods and Settings in Detail:
Stitch Regulator - When you attach the Quilting Needle Plate, it automatically puts the machine in stitch regulator mode. The "Q" is illuminated on the front of the machine and the stitch length is automatically
set to the tiniest stitches.
To quilt using this setting, you'll need to unplug your foot pedal first. The machine will actually beep at you to remind you to unplug it. Now you can start the Little Rebel stitching by hitting "start" on the front of the machine or by plugging in the Start /
Stop button into the foot pedal port and hitting "start" on it.
Once you hit "start" the machine will read any movement of the quilt with the optical encoder and try to match it with the needle speed. All you have to do is push your quilt and form your designs! For best results, use a busy
backing fabric and apply steady pressure over the optical encoder so it can "read" the movement of the quilt well.
Steady Speed Manual Quilting - If you don't like the feel of the stitch regulator, you don't have to use it! This seems to be the confusing point for a lot of quilters. You definitely don't have to use the
stitch regulator if you don't need it.
First, tap the "Q" button on the front of the machine to turn off the stitch regulator. Then lower your speed a bit. I recommend starting at a very slow speed so you're not alarmed when the machine begins stitching.
Hit "Start" and the machine will run at a steady rate, set my the speed setting you've selected. If it feels too slow, hit the up button to increase the speed. When quilting with this method, your goal will be to match your hand movement to the machine movement. Moving your hands slowly and steadily is the key to creating
balanced, consistent stitches with these settings.
Foot Pedal Control - If you love quilting with a foot pedal and can make balanced stitches already, then that will likely be your choice with the Little Rebel too! Plug in your foot pedal, make sure
the "Q" is off, and you're ready to roll.
With a foot pedal, you're free to speed up and slow down as you like to match the movement of your hands. As your hands slow down, you can let off the pressure on the foot pedal. This balance takes time to learn, but it's kinda like riding a bike -
once you have it down with one sewing machine, you can most likely free motion quilt beautifully on any machine.
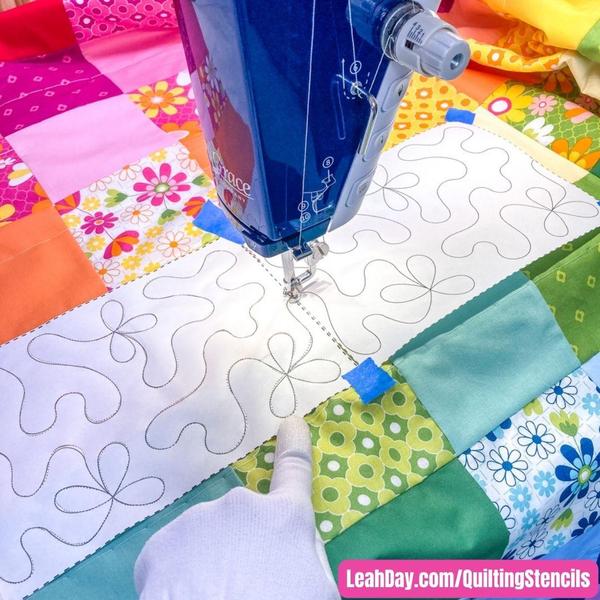
I hope that this has helped clarify the quilting settings on the Little Rebel sewing machine. Keep in mind - this is just 3 ways to quilt when this sewing machine is in a sewing table. There are even more ways to quilt when we put a Little Rebel on a quilting frame!
Speaking of new ways to quilt, here's a sneak peek of something awesome coming out this weekend:
Free Accessories January - March 2024
We're including a Free Accessory Kit with all Little Rebel sewing machines and Qnique Longarms that includes everything you need to begin ruler quilting. This kit rocks a ruler base, Quilt Perfect ruler kit, thread, 3 packs of needles, and two packs of prewound bobbins.
As an extra bonus, we're including a Quilting Caddy - a handmade tool organizer exclusively available from LeahDay.com!
With these accessories, you'll be ready to start ruler quilting on a frame with your new Qnique longarm or Little Rebel sewing machine. This is over $700 in accessories, included with your new machine if you purchase between January and March 2024.
I hope you enjoy piecing your 8-inch Heart Quilt Blocks and are looking forward to learning a fun new way to free motion quilt on your home machine. I've been trying to find a way to help quilters master quilting simple designs and - fingers crossed - I think this is going to really help!