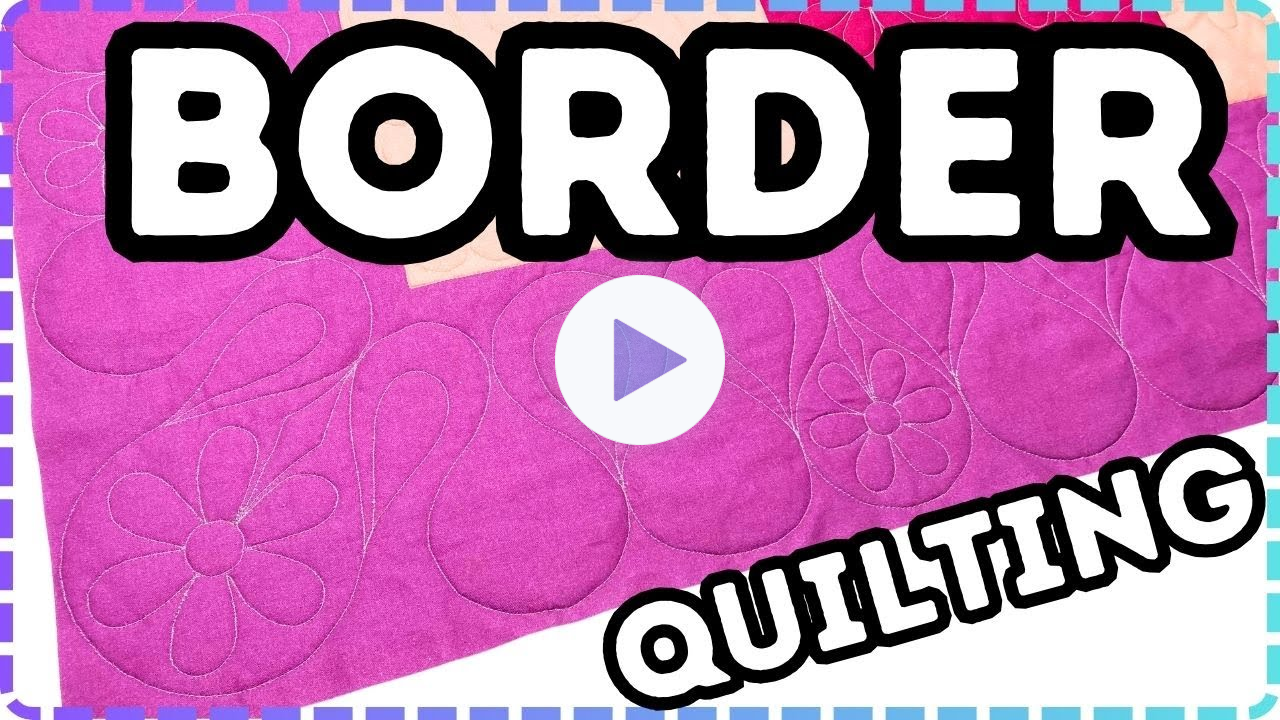
You will occasionally have a situation where your border stencils will not exactly fit your quilting space. Here you have a decision - do you leave gaps between the stencils or overlap them?
Leaving a gap between the stencils is the easier option, but it will result in more space between the designs. Make sure to mark the quilt with a fabric marking pencil or tape to indicate the gap being left.
As you quilt the border, you will stitch
to the end of the first stencil, then across the gap, then onto the next stencil. This is a very easy and quick way to handle extra space in your border.
For overlapping, plan the amount of overlap and this time mark it on the stencils. This way the paper will guide you as to how much the designs overflow on top of one
another.
Quilt the first stencil completely and stop with your needle in the down position. You may need to trim some of the next stencil away so you can properly place the overlapping stencil. As you quilt over the doubled layers of paper, try to make very tiny stitches to make the paper easier to rip
away.
Before you start custom quilting your border, remember to take a picture of the design. If you're quilting a large border, consider numbering the stencils. This will help you remember the arrangement when you're on your machine.
Don't brew yourself a cup of Frustration Tea - only have one loose stencil on the quilt at a time!