Easy and Fast Stripe Quilt, Plus 4th of July Quilting Designs, Pantographs and More!
Hi ,
It's that hot time of the year when I head inside and get busy quilting. I have a very simple quilt for you that you can make any size you like to fit any space:
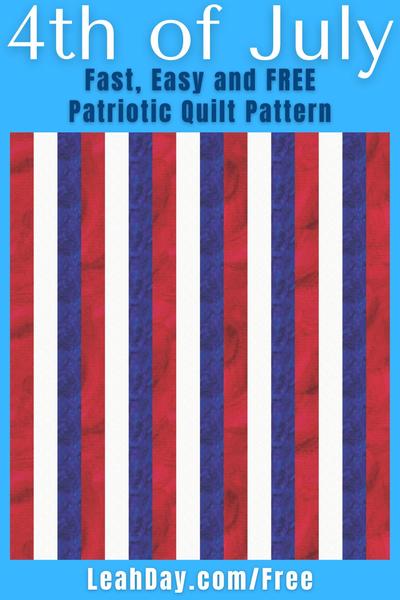
Fast and Easy 4th of July Stripe Quilt Pattern
Materials:
1-3 yards each of Red, White, and Blue solid or solid reading fabrics
Batting and backing to fit the size of quilt you'd like to create
Now let's make this 4th of July Quilt in a Choose-Your-Own-Adventure style. This means you can customize the
pattern to be perfect for you! Answer the series of questions below to plan and create your patriotic quilt:
Step 1 - How big is the quilt? Decide on the size of quilt you'd like to make. If you're needing a couch throw, my favorite size is between 60-70 inches square. This makes a big enough quilt to share, but not so huge it's a pain to fold up.
Throw Quilt Example - 64-inch square quilt
Step 2 - How many strips
will you need? Divide the quilt width by 4. This will give you the total number of strips needed for your quilt. Each strip cut will be 4 1/2-inches wide by the total length of the quilt.
Throw Quilt Example - 64 / 4 = 16. We'll need a total of 16 strips to create the quilt.
Step 3 - How many strips of each color? The quilt is red, white and blue, so divide the number found in Step 2 by 3.
Throw Quilt Example - 16
/ 3 = 5.333. This means we will need 5 strips of two colors and six strips of the third color. I like having a little more red in my quilt, so I'll cut the following:
Cut 6 - 4 1/2-inch strips red
Cut 5 - 4 1/2-inch strips white
Cut 5 - 4 1/2-inch strips blue
Make sure the total number of strips cut above matches the number found in Step 2.
Step 4 - How long is the quilt? Divide the desired length by 36 to find
the number of yards needed for the length desired.
This determines the yardage needed for the quilt. The easiest way to cut these long strips is parallel to the selvage, which is the opposite direction we usually cut our fabric for quilting.
This will be more challenging to cut the strips straight, but in this case, I think it's
worth it to not have to piece the strips together to create the total length.
Throw Quilt Example - 64 inch length / 36 = 1.777 I could purchase 1 3/4-yards of each color and probably end up with the quilt running a little short. Or I could purchase 2 yards of each and create a 64 x 72-inch throw.
As you can see, quilt design is a fluid process. I like the idea of working with 2 yard cuts of each fabric, and a 72 inch long quilt will work just fine for
my couch too.
Step 5 - Prepare the fabrics, cut, and piece the quilt. We've prepared our cutting list in Step 3. The length of the strips was determined in Step 4. Here's the final cut list for my example throw quilt:
Cut 6 - 4 1/2 x 72-inch strips Red
Cut 5 - 4 1/2 x 72-inch strips White
Cut 5 - 4 1/2 x 72-inch strips Blue
Did you enjoy this Choose-Your-Own-Adventure Quilt Pattern? Would you prefer just a set
size pattern and not calculate your own, or do you prefer making quilts to fit the size and shape you want to make today? Let me know in a reply to this email.
How Do We Quilt Our 4th of July Quilt?
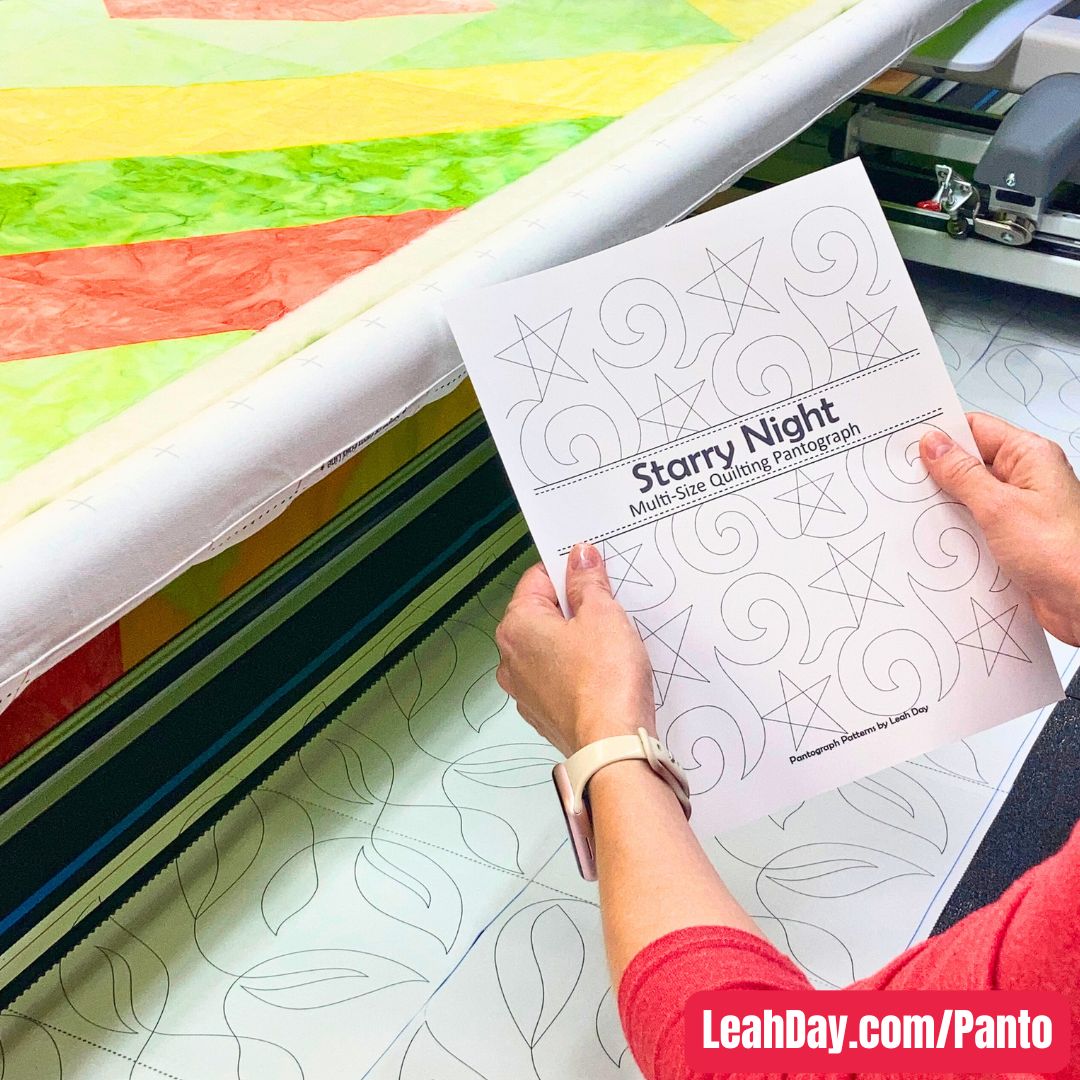
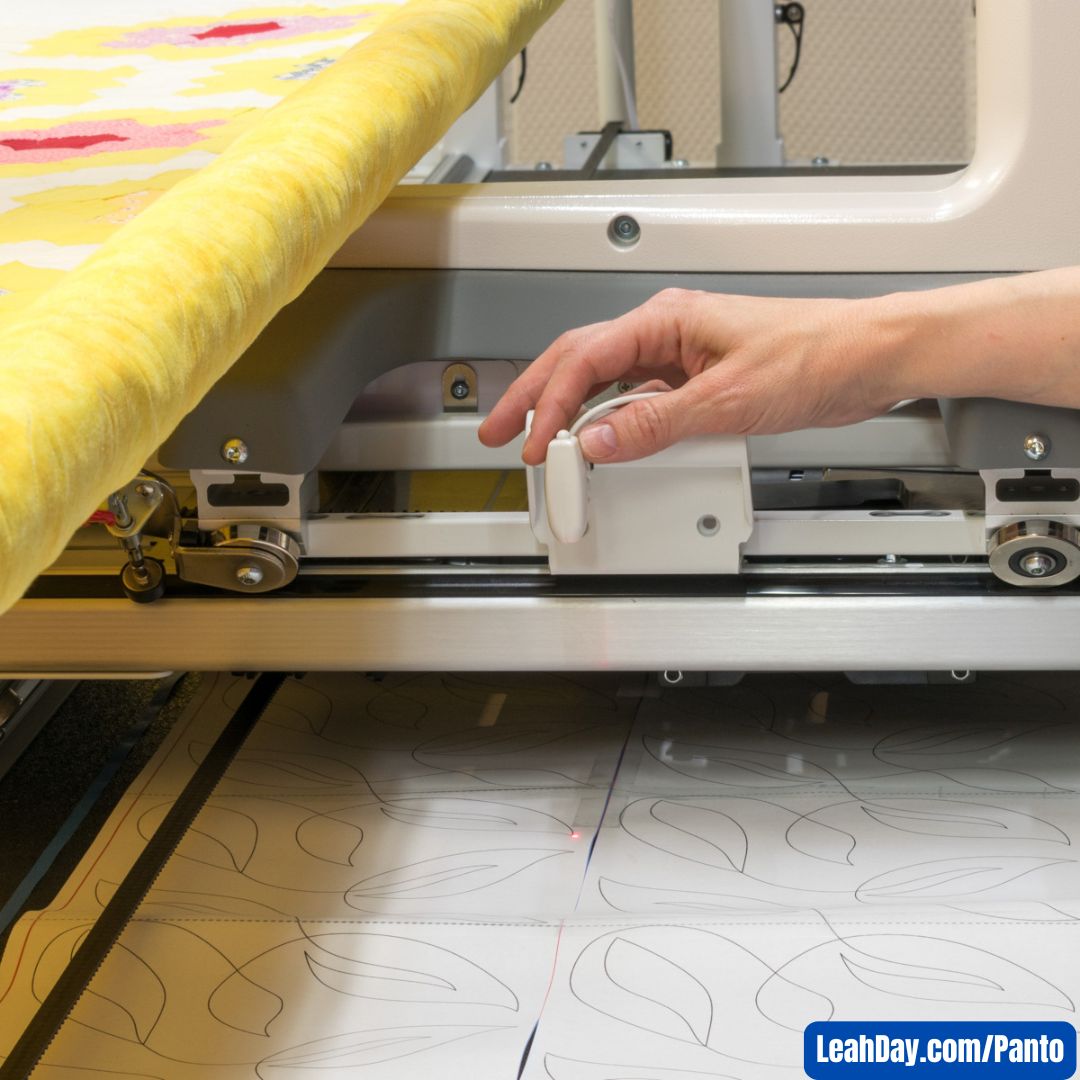
There are lots of options for quilting this quilt, but the first that comes to mind is the new Starry Night Pantograph:
This simple
design is easy to quilt standing to the back of your quilting frame. We use a laser light to trace the design, which helps keep the lines of quilting consistently spaced edge-to-edge across the quilt.
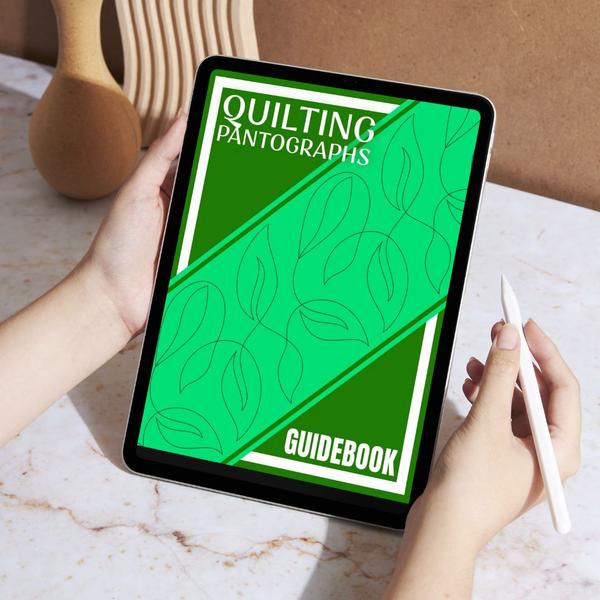
Did you know you can also use my pantograph designs as quilting stencils? I tested this technique while writing the new edition of the Quilting Pantographs Guidebook and it definitely works!
If you'd like to use the Starry Night pantograph design on a machine set in a table, you can!
Simply cut out the design on the dashed lines, and the red and blue lines marked on the pantograph. Then treat it just like a Paper Quilting Stencil -
stitch across from edge to edge, then butt the next design against the first.
Stitching through the paper and quilt at the same time does add an additional step - ripping the paper away. I received this tip this week:
I wanted to let you know, after quilting with paper if you press the paper after quilting before removing makes removing the paper a lot easier
Thanks, Connie
I haven't tried
this yet, but I'm really curious to see if pressing the paper before ripping helps it tear away easier.
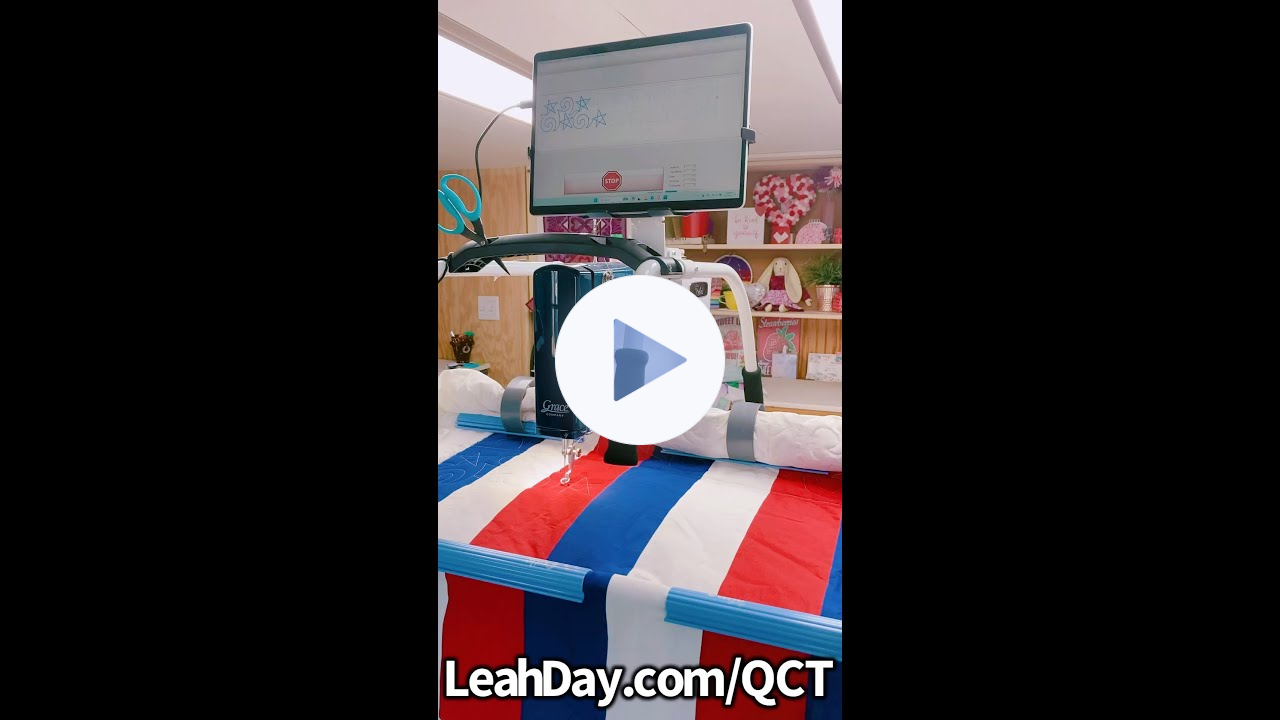
Another quilting method that involves a lot more tech is QCT 6. Here you can watch the same Starry Night design stitch out automatically (and perfectly) with QCT 6:
Click Here to learn more about QCT 6. You can find the Starry Night design within the Leah Day folder in QCT 6 Edge to Edge so you can quilt your 4th of July Quilt the same way.
Just in case you're wondering how the 4th of July quilt will
look after quilting, the video above is stitched on a quilt made from the same sized strips!
Save 20% on all Pantograph Quilting Accessories
What do you need to start quilting with pantographs? Grace Company is luckily running a sale on everything you need.
If you have a Qnique longarm machine, you'll need a Qnique Laser Light
and Rear Handlebars to control the machine from the back of the frame. Both accessories are on sale for 20% off through the month of June.
For your frame, you'll need to make sure you have a solid back table to support the pantograph design. If you have a Q-Zone Hoop Frame or Q-Zone Queen Frame, you'll need these table inserts to support the patterns.
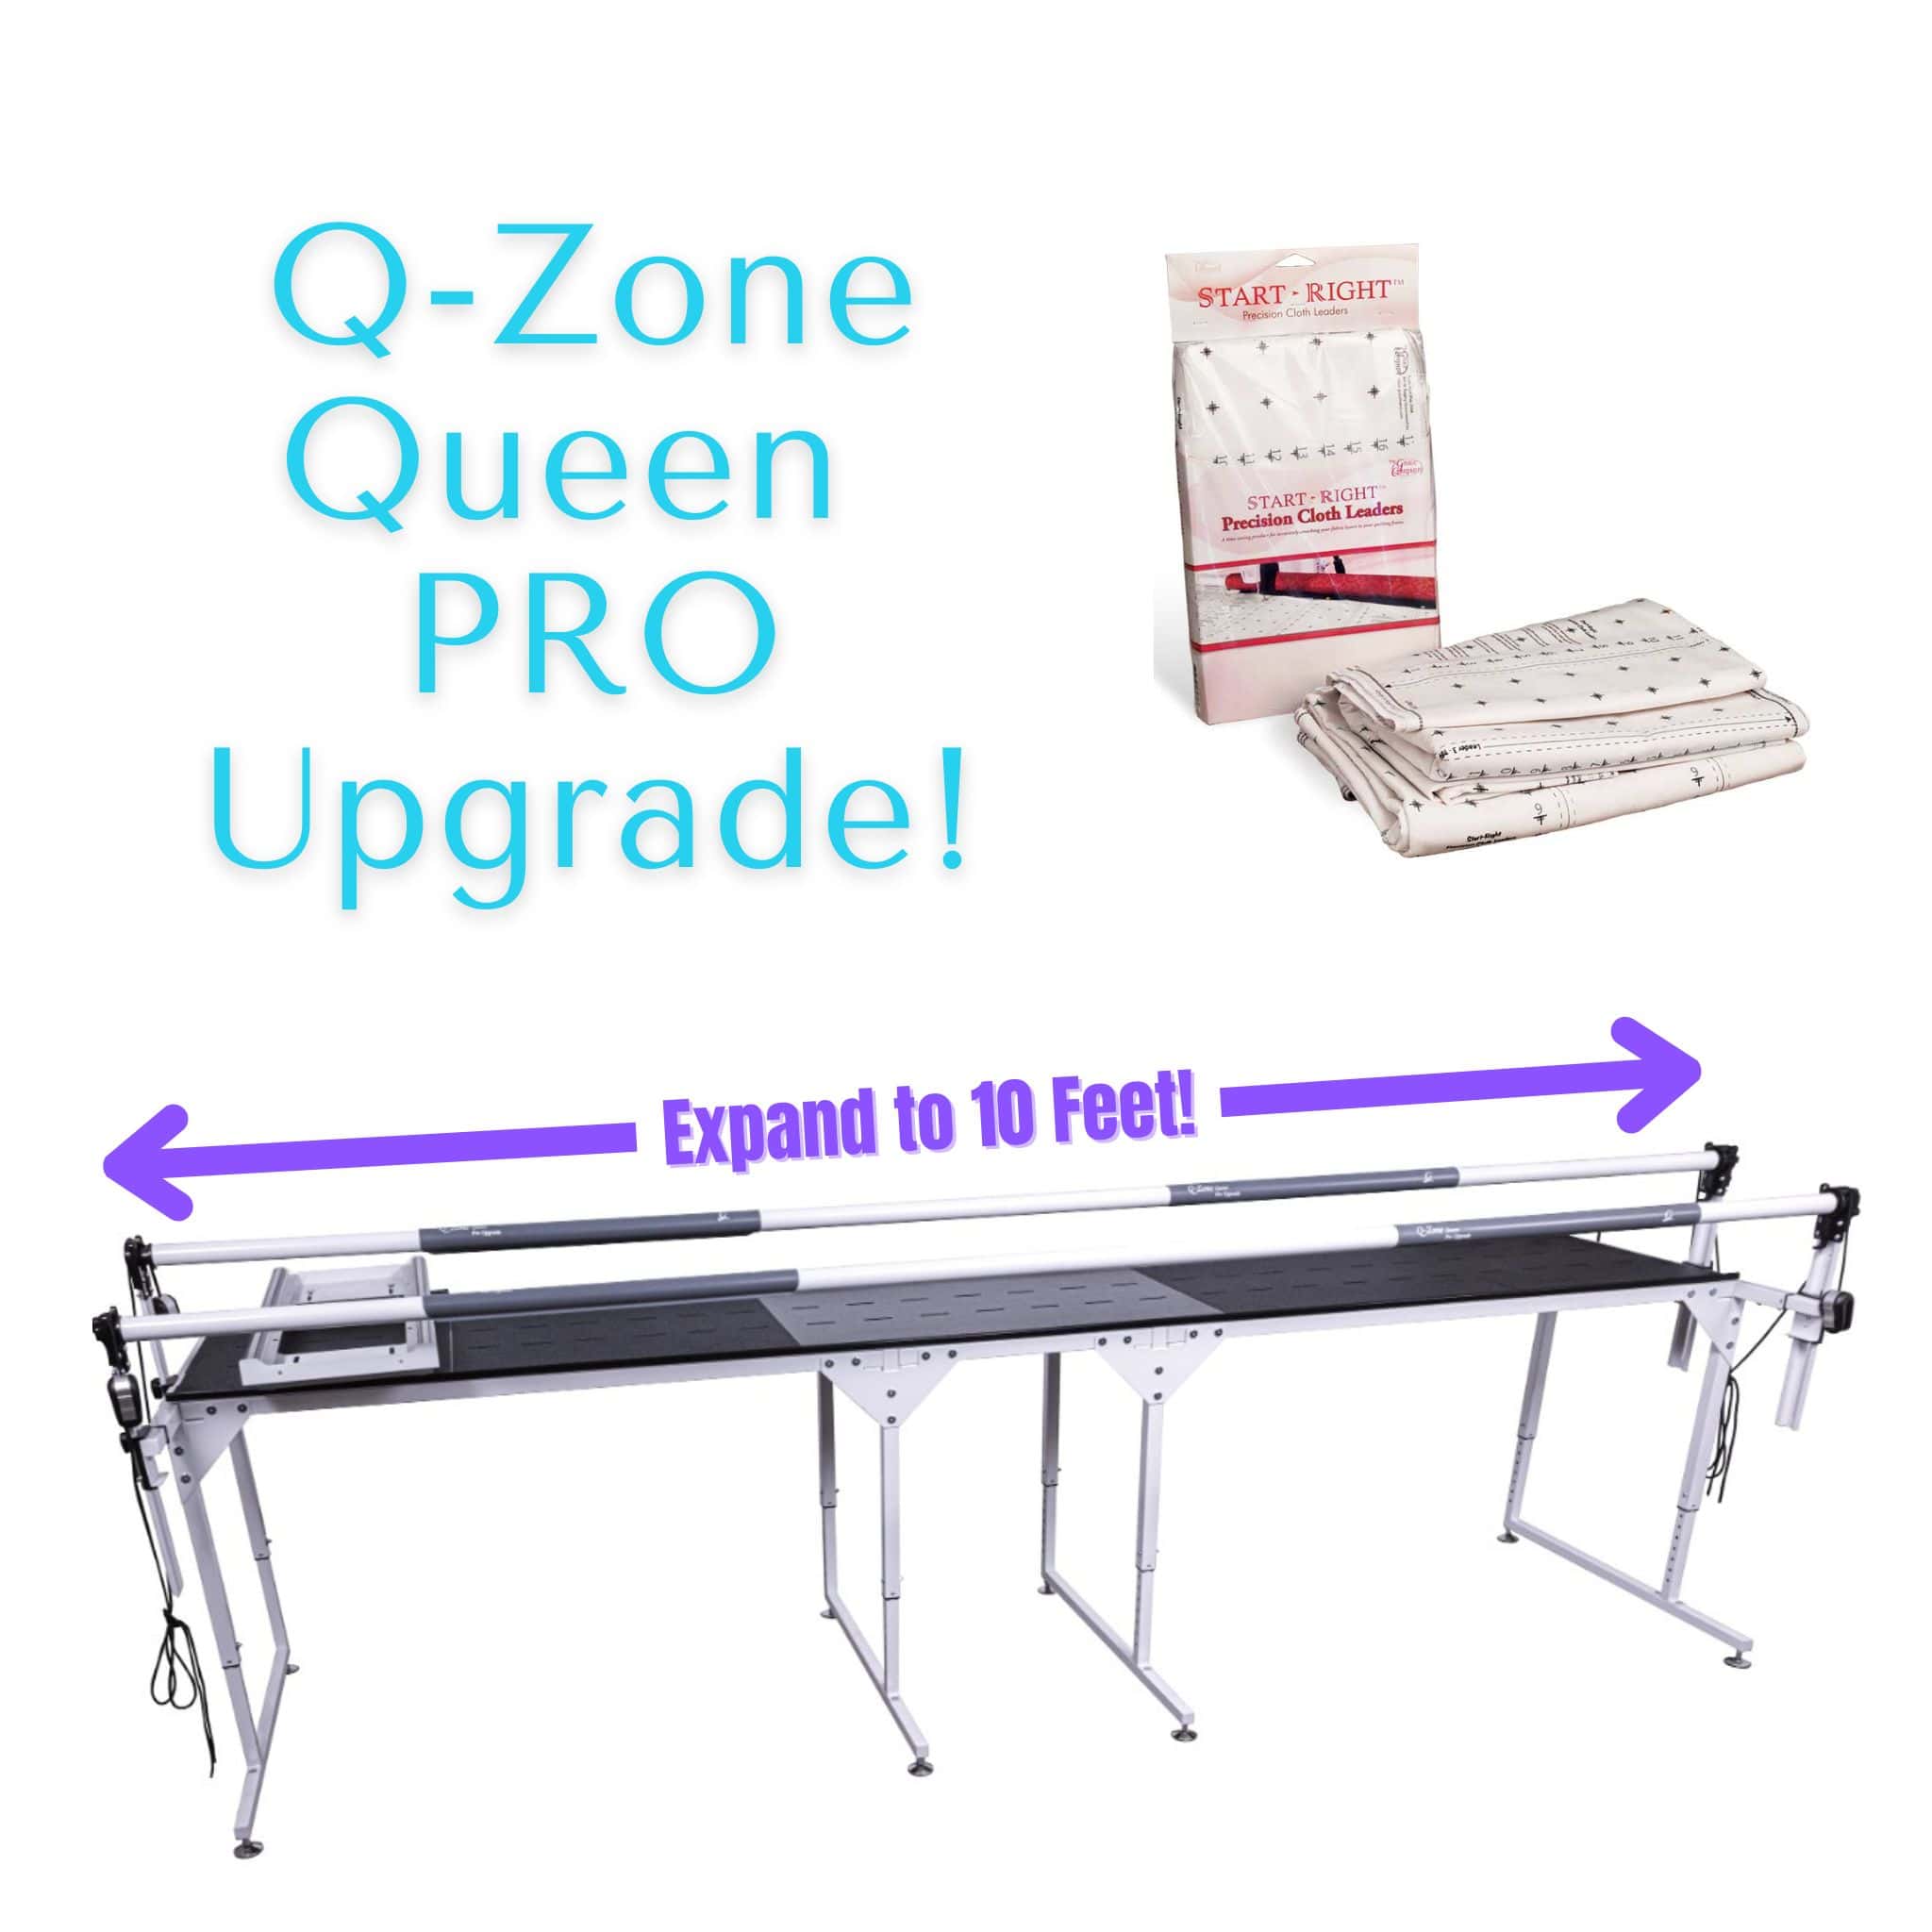
Alternatively, you can expand your Q-Zone Queen Frame with the Queen PRO Upgrade, which extends the frame 2 feet, and
includes the table inserts as well as leader cloth to fit the expanded 10-foot frame.
That's it for this week. I hope you'll give the Choose-Your-Own Adventure 4th of July quilt a try and let me know if you like having the option to pick your own quilt size.
I'm off to work on a new batch of pantograph designs that will be launching next week. If you've been wishing for butterflies, clouds, and feathers, these new designs will be perfect for you!