Take the Bummer out of Basting

Published: Wed, 01/10/18

Hi ,

I'm very pleased to bring you a brand new workshop today! This is a subject so many quilters have struggled with, myself included. So I decided to dedicate an entire workshop to explaining the multiple steps and processes.

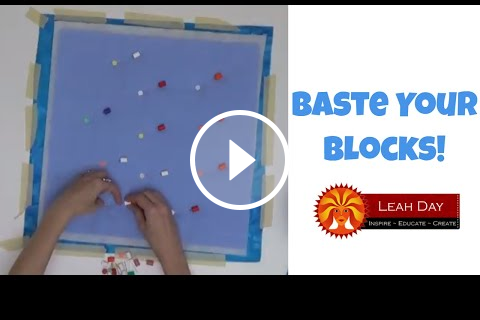
Our new workshop covers everything basting and will make this annoying step fast and easy!

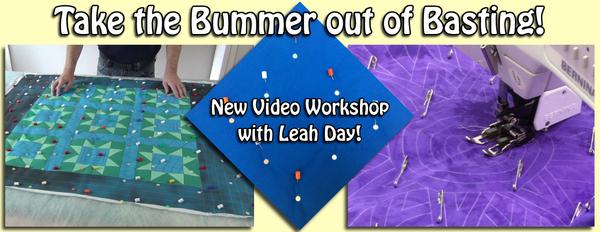
Of all the steps in the quilt-making process, this is the technique that is the most confusing for quilters. How do we secure the layers of our quilt together before quilting? How can we layer the top, batting, and backing fabric so they rest smoothly together and look great on the front and back of the quilt? And how do we accomplish this step without breaking our knees or back crawling around on the floor?
In this quilting workshop you'll learn the following:
  • Layer and baste your quilt on a table - not on the floor!
  • Select the right batting so your project can be finished as fast as you desire.
  • Test your batting so you know what to expect in the finished quilt.
  • Prepare the fabric and batting of your quilt so they're easy to layer together.
  • Baste a a baby quilt and a king sized quilt with pins.
  • Remove the pins and secure the layers by machine.
  • Speed up the process by basting on a longarm frame

We'll keep it on sale for its introductory price of $12.99 for this week only.
How to Piece Log Cabin Blocks
We've entered the second week of the Machine Quilting Party! On Monday we pieced the log cabin quilt blocks for the Rainbow Log Cabin Quilt. This is one of my favorite traditional quilt blocks because it's so easy to piece, but creates such a pretty effect on your quilt.

Click Here to see the videos shared so far for this year's Quilt Along. New videos will go up every Monday and Friday.

Learn how to piece a log cabin block in this quilting tutorial:
Are you looking for the Rainbow Log Cabin quilt pattern? Click Here to find it in the book Explore Walking Foot Quilting.

Just in case you missed the video from last week, click here to learn how to prepare and cut your fabrics

I do advise prewashing your fabric, starching and pressing to make the pieces nice and stiff so they are easy to cut and also easy to piece together too.

Yes, if you prewash fat quarters, they are going to get a bit messy.

Our First Design in the Marvelous Mosaic Quilt
On Fridays I'm going to be machine quilting all of the designs from my book Explore Walking Foot Quilting into squares to teach you how to quilt each design. These will be Quilt As You Go, just like our last two Machine Quilting Block Parties.

We'll showcase new walking foot quilting videos every Friday. At the end, you'll have lots of blocks quilted and you can connect together your favorite 20 to create the Marvelous Mosaic Quilt. Click Here to learn more and find the materials list for the Marvelous Mosaic quilt.

Learn how to prepare your fabrics and baste your blocks for Marvelous Mosaic in this quilting tutorial:
Marvelous Mosaic is a very fat quarter friendly quilt and yes, you can prewash fat quarters of fabric too. Separate the fabrics by color and wash them in a laundry bag or pillowcase to minimize the fraying from the edges of the blocks.

It's so nice to start with washed fabric so you never have to worry about bleeding dyes when the quilt is complete. I would hate to see the bright colors of Marvelous Mosaic bleeding into one another. It would turn in to a big mess.

It does save time to prepare all your blocks ahead of time so each week you can grab one and stitch a new design. Yes, quilting individual blocks will teach you quite a lot about quilting, even though it's not a big quilt. You'll get the feel for moving and manipulating your quilt, how to work with the walking foot and get used to how it feeds the fabric forward.

So that's it for this week! We have a lot of basting content for you, and I truly hope it helps you feel more confident in this key step of the quilting process.


See you next week!

Let's go quilt,

Leah Day