Hi ,
Today I'm mixing things up with photos from my inbox! Three quilting friends contacted me this week and have given me permission to share photos of their beautiful quilts.
Hello Leah,
I wanted to let you know how much I enjoyed making your Waterfall Bargello wall hanging! The workshop was terrific - great videos, great tips and techniques. I've been quilting for years off and on, more on the past year, and I learned a lot about how to keep the strips from stretching, how to fingerpress so you don't have to keep getting up and using the iron, etc. And you have some great ideas on doing the actual quilting! You've also got
a great teaching personality - helpful and supportive, but the videos move along and don't get bogged down. I turn to your other videos when I need help on various techniques - you've got quite a collection!
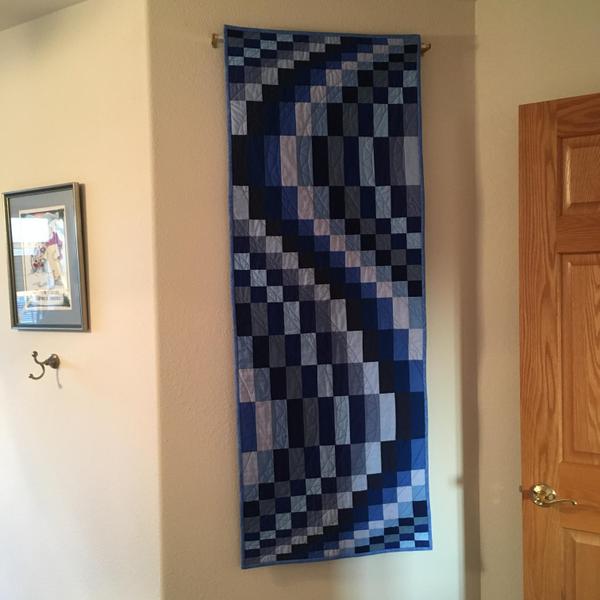
I've attached a photo of my finished Waterfall - I chose to do less quilting on mine, as I'm more of a minimalist.
Thank you so much for sharing this picture with us, Barb! It's great to see a different take on the Waterfall Bargello Wallhanging:
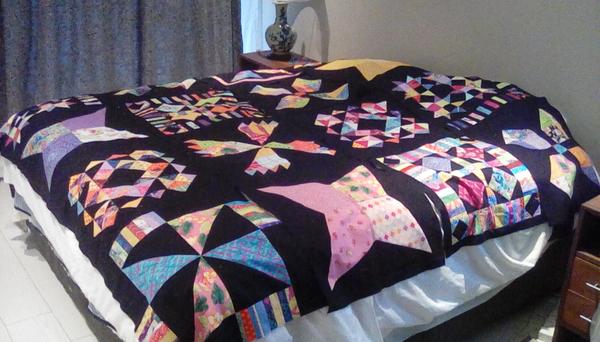
Leah, I just wanted you to know that I am finishing my 16 block quilt this week. I didn't use all of the twelve blocks. Instead, I repeated some of my favorites! At the end, I even decided to create some windmill blocks and a big floral design, stretched periwinkle from Missouri star quilts, was added as well. If possible, I will send a pic of the final product.
Also, I decided NOT to quilt the blocks separately and join them. Instead, it will all be done on my longarm...thank God! And thanks to you and your team for a beautiful design concept! Can't wait for the next one ! Yours, Marietta
I agree with Marietta - piecing all the blocks of Friendship together and quilting it on a longarm would probably be much faster! Remember, the reason we quilt the blocks in our quilt alongs separately is to make them easier to quilt on a home machine.
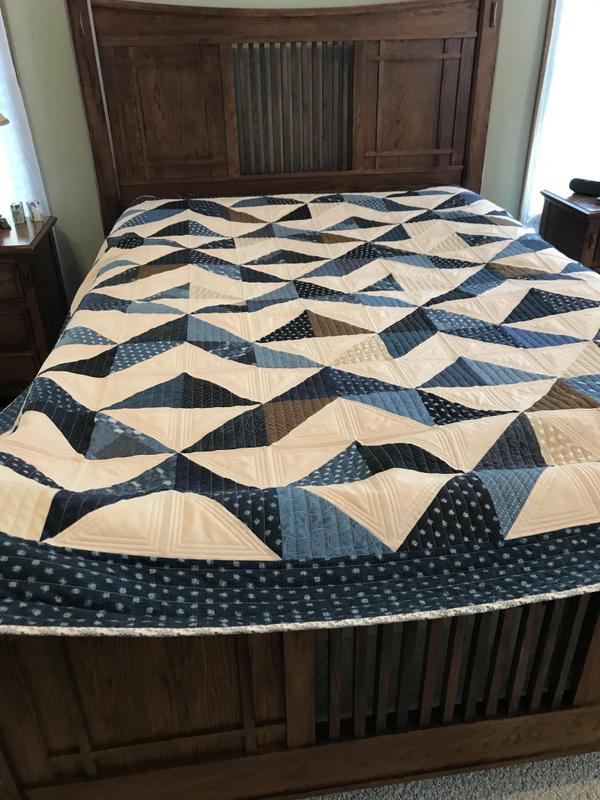
Hi Leah, I just wanted to send you a picture of the quilt I needed some advice on. I had some issues using the ditcher ruler. You generously offered me some very valuable advice as to what I was doing wrong. Thank you, thank you!!
You made for a much more enjoyable time quilting. 😌 The quilting took a lot of time to complete but the outcome is so worth it! I am so very proud of this quilt. It is a Mother’s Day gift for my daughter and I am so anxious for her to receive it! May you have a very happy and relaxing Mother’s Day! With kind regards, Susan Z
Thank you so much to Barb, Susan, and Marietta for sending me these pretty pictures!
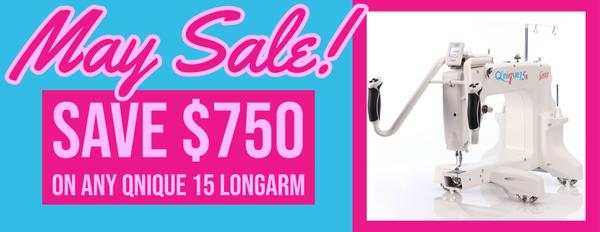
Qnique 15 Longarms on Sale!
|
For the month of May, Grace Company has put our most popular Qnique 15 longarms on sale.
The Qnique 15 is a great machine to begin longarm quilting. With 15 inches from the needle to the back of the machine, you will have around 10 inches of space to quilt your designs on either the Q-Zone Hoop Frame or Continuum Frame.
Choose from the Qnique 15M, 15R, or 15PRO longarms and see how much fun longarm quilting can be. But wait - what is the difference between these different Qnique 15 machines?
Qnique 15M - This version of the Qnique 15 doesn't come with a stitch regulator. The M stands for Manual and this means the machine will stitch at a steady, constant speed. To use this style of longarm, you will need to learn how to move the machine slowly and steadily so your stitches stay consistent.
Qnique 15R - If you don't like the idea of inconsistent stitches, you'll want to get the 15R or 15PRO which both come with stitch regulators. A stitch regulator is a device that reads the movement of your machine and adjusts the needle speed to match. So if you move the machine fast, your needle moves fast!
Qnique 15PRO - Our highest level Qnique 15 longarm is the 15PRO. It also includes a stitch regulator like the 15R and the major difference between the machines is the 15PRO can stitch faster and comes with a touchscreen monitor.
Things are Getting Interesting in Mally the Maker
|
Things are definitely getting interesting for Mally as she's back in Quilst and brought a friend along for the ride. I hope you enjoy listening to chapter 3 and are looking forward to chapter 4 coming next week!
I also shared an update on the basement remodel and walked through the space. The bathroom is officially driving me crazy as it's taken over a month to rebuild. But yes, I know, it will be awesome when it's finished. It's just getting it finished! Argh!
Mini Block Monday: Flying Birds
|
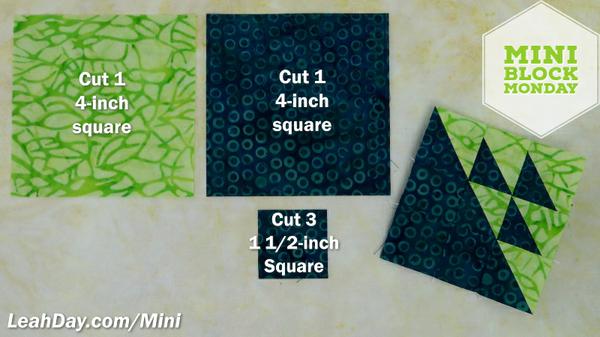
There are lots and lots and LOTS of traditional quilt blocks with the name “birds” in the title. This Flying Birds block is one of my favorites! When writing Mally the Maker and the Queen in the
Quilt, I imagined this block would turn into one giant bird and six smaller birds. Definitely gave Mally a lot of bang for her buck!
Looking for a pattern for the mini Flying Birds quilt block? It’s all in the video! I’m including all the information in the video itself. Just hit “pause” when you need to and write down the pieces to cut.
Is that just not your thing? Here’s a snapshot of the patchwork pieces to get you started:
Wrapping Up the Dream Big Quilt Along
|
This week we finished up the Dream Big Quilt Along with a final video on how to quilt the center of the flower panel with several designs. I found this center area particularly tricky and I'm happy I left this to the very last.
Yes, I still have my second Dream Big quilt to finish and the sleeves to cut out on my jacket. This project has taken a back seat to piecing a mess of new mini blocks and experimenting with my new Janome 1600.
I hope to get back to quilting this later this week and I may film one more Dream Big video on quilting with rulers on this new machine!
Let's go quilt,
Leah Day
|
|