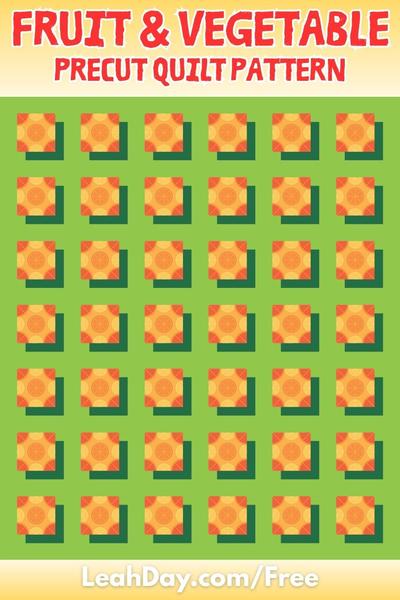
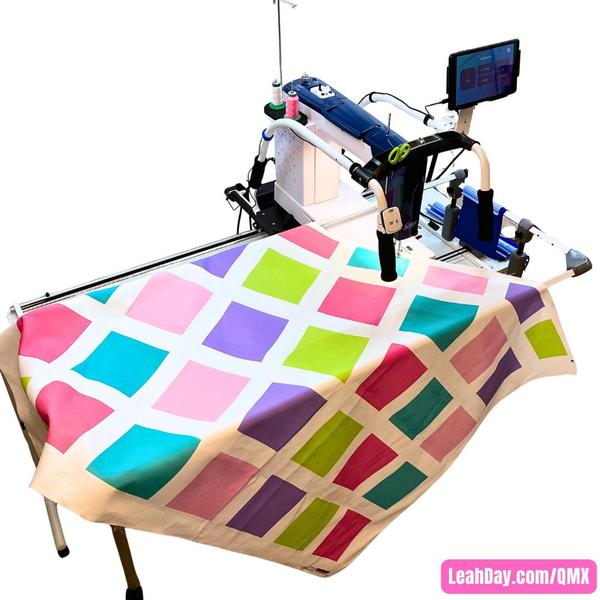
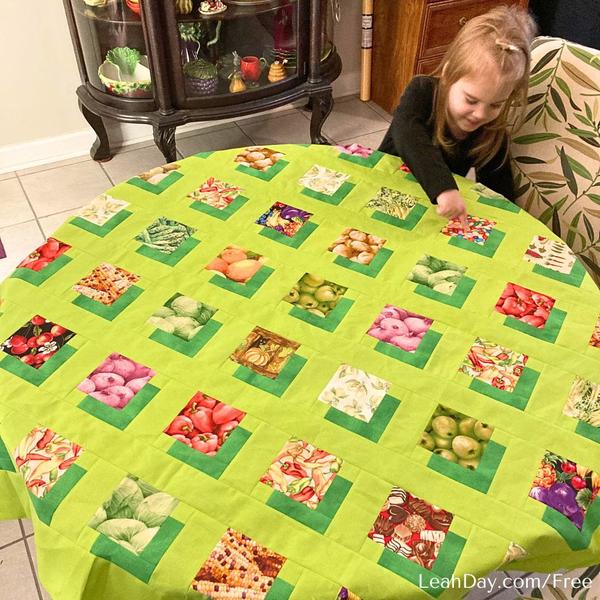
I designed this spring quilt panel specifically to teach you how to quilt with QMX on a Little Rebel sewing machine. We're exploring how to quilt with pantographs, blocks, and straight lines.
I printed my panel on 1 yard of 56 inch
wide Organic Cotton Sateen. From this piece, you can make a 20 x 56-inch wall hanging, plus use the additional blocks for quilting test blocks and experimenting with the system.
Feel free to follow along with the spring quilt panel, or use a plain fabric sandwich instead. You can mark the fabric with squares and rectangles to simulate a quilt to practice placing and quilting designs.
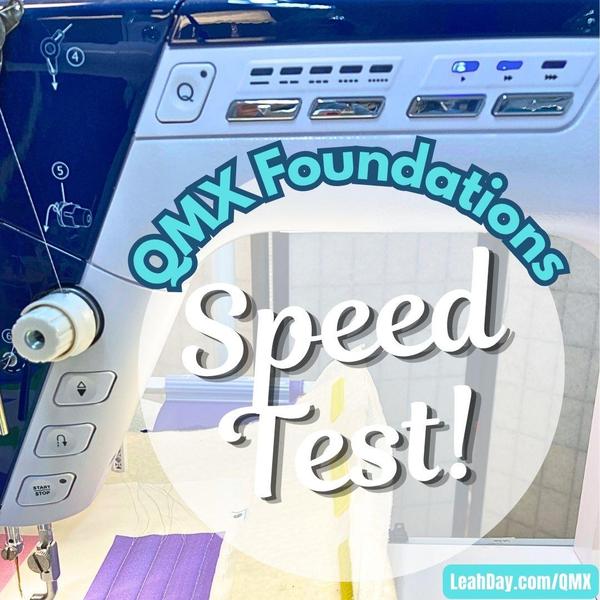
Step 1 - QMX Speed Test
The scariest part of using QMX is the first speed test.
I was honestly stuck on this step for a few months. The purpose of this test is to find the right speed your machine should run in order to balance with the speed of QMX moving your sewing machine.
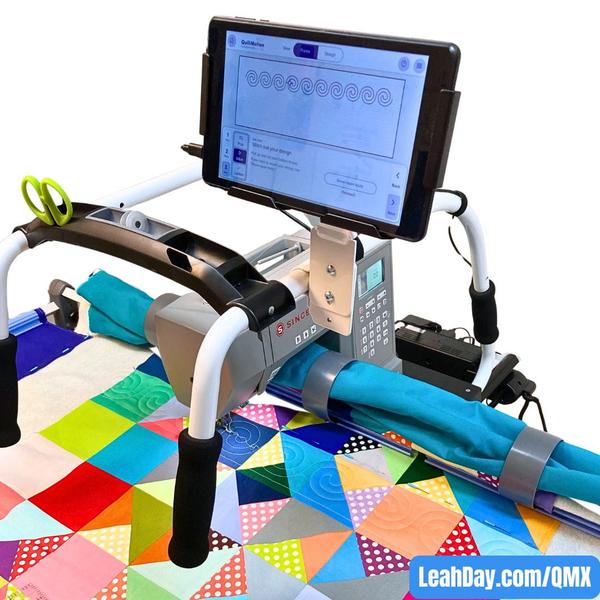
Once I did it, I felt pretty silly for waiting for so long. It's really no big deal! Unthread your sewing machine (take out the bobbin and remove the top thread) and set the speed controller on your machine to a middle speed setting.
In this photo you can see my
settings on my Little Rebel sewing machine: Q off, speed set to 3 lights illuminated on the speed selector.