Patriotic In the Hoop Quilt Pattern
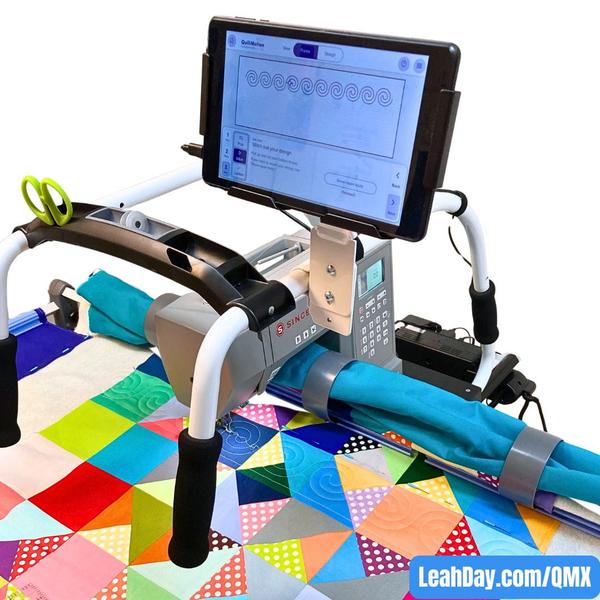
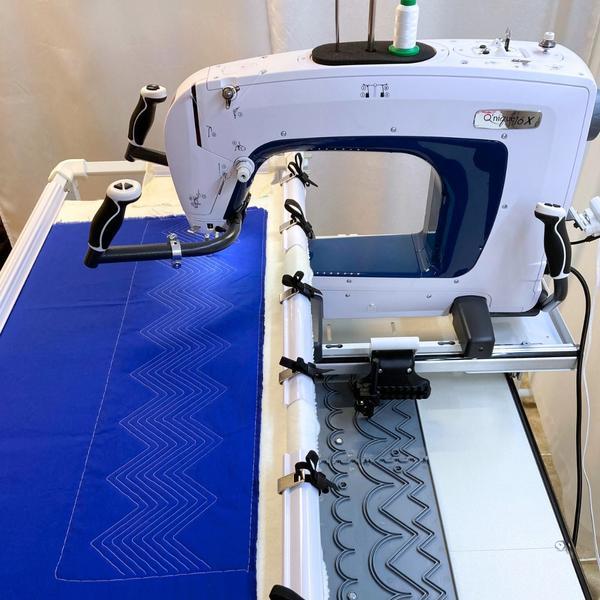
The coolest thing about this quilting tutorial is you can really make anything you want! I cut my strips 20 inches wide so they would easily fit within my Cutie Breeze Quilt Frame. By following the steps in
the first video in this newsletter, you could create placemats, a table runner, or large quilt blocks.
You can piece and quilt multiple blocks and connect them together using a simple Quilt-As-You-Go technique. I'd love to see what you make, so please send me a pic if you use this tutorial to create a pretty quilt project.
Materials
24 wide backing fabric
24 wide batting
Various strips in red, white and blue, or your favorite colors. I cut these patriotic fat quarters into 2 1/2 inch strips, but you could cut wider strips if
desired.
Load Your Cutie Breeze Quilting Frame
The first step is to load your Cutie Breeze Frame using just the batting and backing fabric. I locked the materials
to the back rail using Magnum Magnets because they click in place so easily and hold securely, allowing me to roll closer to the take up rail.
Place and Baste Strip #1
The first strip needs to be placed straight on your quilt batting and backing fabric. Place the strip and go into QMX and select the "simple panto" option. Lock the horizontal channel lock. Use the needle up /
down button on your machine to create big basting stitches.
As you baste down the strip, wiggle it so the upper edge stays perfectly straight with your quilting foot. When you reach the right edge of the strip, release the horizontal channel lock and engage the vertical channel lock and
stitch straight down.
Repeat this step to engage the channel locks and stitch from right to left across the bottom edge of the strip and then up the left vertical edge. Aim to position your stitching 1/8 inch from the edge so this stitching will be covered by binding or by piecing the next
strip in place.
Quilting Strip 1
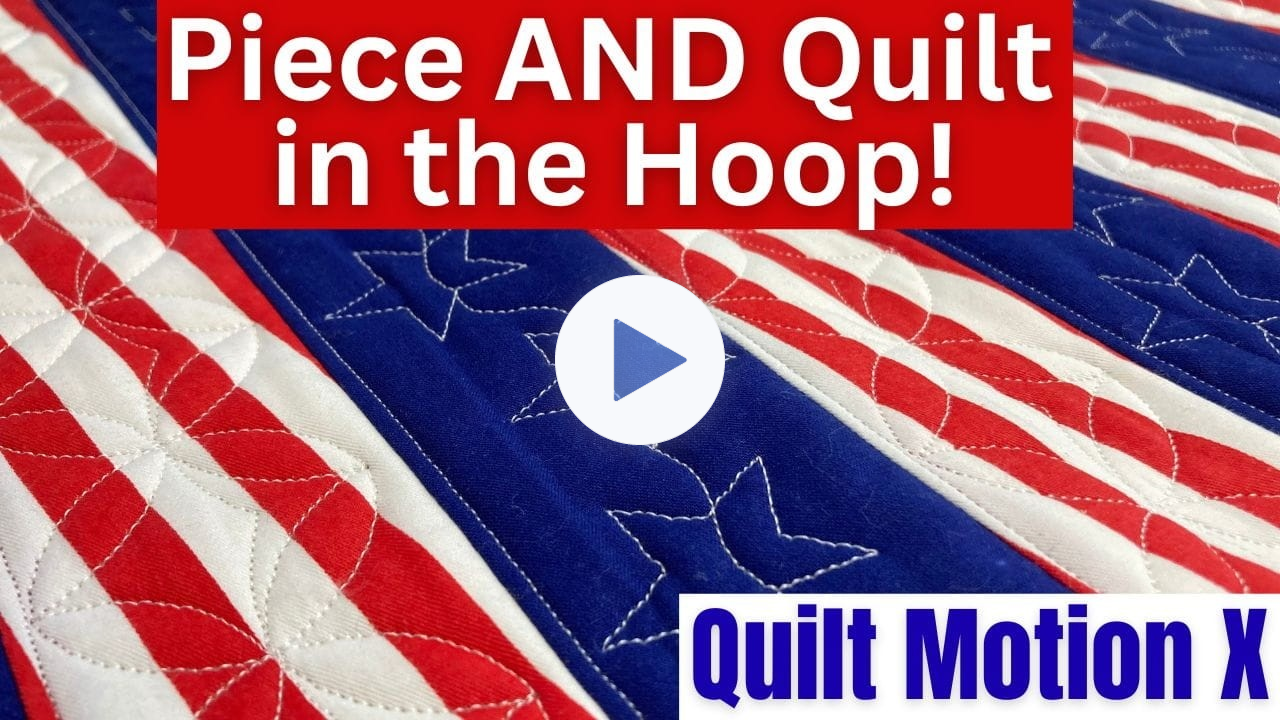
From the Simple Panto screen, select a quilting design to go with your project. For this project, I used the design Simple Star
Continuous and sized the design 1.75 inches wide.
Measure from the top edge of the strip down 1.25 inches and mark the right and left side. Place the start and end points to position the design on your quilt as shown in the video. Let QMX guide the quilting, just remember to hit start in
time with the system and turn it off when you reach the end of the fabric strip.
Stitch and Flip Strip #2
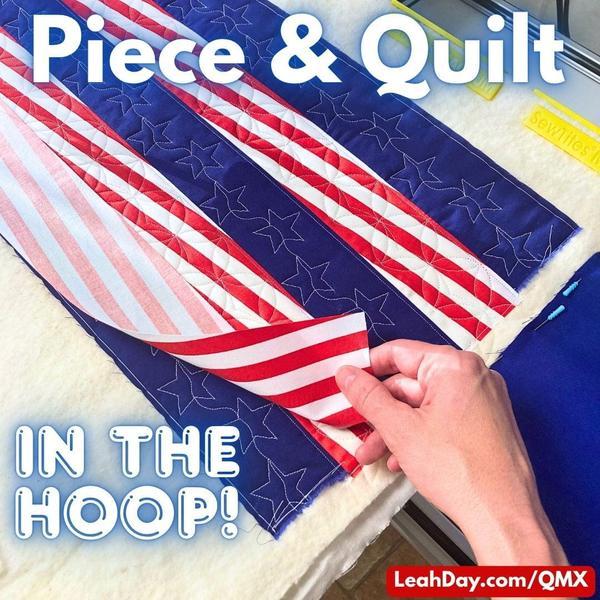
Now for the piecing part of this tutorial! Roll the foot
so the front edge is aligned with the bottom edge of Strip 1.