Hi ,
I'm back from Quilt Market and while I've been away my dad and Josh have been busy working on the Crafty Cottage.
This small prebuilt shed is being transformed into a finished craft room
for filming new YouTube videos outside of the house where I'm less likely to be interrupted.
With the paneling nearly complete, we're going to start caulking and painting this week. My hope is
to being filming new videos starting in June!
I'm very surprised by how quickly this has come together and delighted with the results. If you've been craving more space, maybe an outdoor building is the way to go!
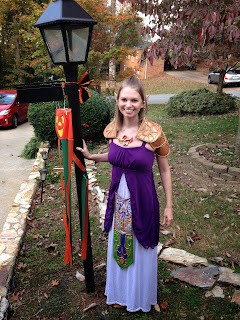
Zelda Costume and Armless Lucy
|
I feel like I've hit the ground running after I got home from quilt market, but last night I couldn't resist my urge to get back on track with my Zelda Costume so Josh helped me shoot this short video.
If you're interested in learning more about fitting garments, definitely check out the following classes and help my efforts to make more fun, free videos:
Sew the Perfect Fit - This is a great class for
understanding how to mark, cut out a muslin test garment, and alter it to fit nicely step by step.
Jacket Fitting Techniques - I love to watch this class for specific tips on fitting jackets. VERY helpful especially when I'm planning to layer and quilt the pieces and
I want them to fit nicely.
Fitting garments used to be a total mystery to me, and frankly very intimidating. If I didn't fit the pattern exactly, I just
didn't make it. Learning how to fit and adjust a pattern to my body has helped so much, both with my confidence making garments, and my enjoyment of the finished project.
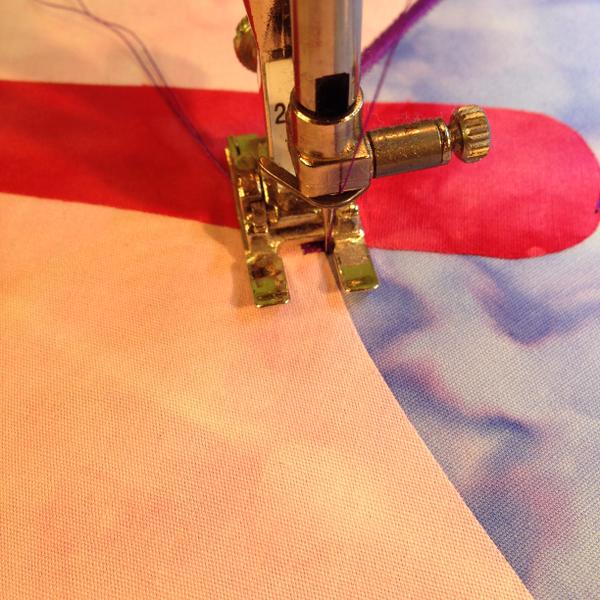
Free Motion Quilting Project News
|
I just watched the lesson on Satin Stitching the Butterfly. Once again I must thank you for the detailed coverage you give us in your video lessons. It would have been typical of so many other teachers for you to have simply stated that the next step was to satin stitch around the wings and body of the butterfly, perhaps showing a picture of the finished block.
But you accommodated me
and so many other students buy showing the whole process, from the first to the last stitch, even taking advantage of teaching what to do when, in the middle of your lesson, the bobbin ran out. Thank you for taking care to teach to all levels of experience. I hope you never change in your generous approach to teaching. One can not put a price on this kind of teaching and learning. ~ Dorlores B
I really appreciate hearing feedback like this because it's so good to know what quilters need to see in the video to help make the project easier and faster to create.
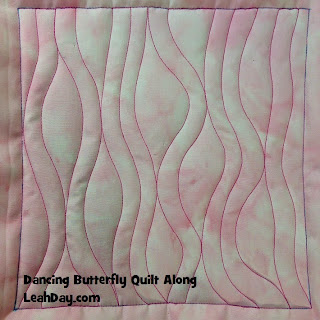
This week you have two new videos to enjoy with fantastic designs that will
be fun and easy to quilt in many different quilts:
Flowing Lines - This one of my absolute favorite free motion quilting designs. It can honestly stand all on it's own to make fantastic quilting texture in an art
quilt.
Hot Hot Spiral - This design combines wiggly lines, sharp points, and open spirals to create a fluid, flame-like texture for your quilts.
I'm sure you're wondering what is coming next and I can't wait to share with you all the fun projects we have in store this summer and fall. Stay
tuned for news coming in the next few weeks!
|
|